
Last reviewed: August 25, 2026
Lip blush needle depth is not one universal millimetre number.
The number adjusted on a PMU machine normally describes needle protrusion—the visible extension beyond the cartridge tip. It does not prove how deeply pigment is placed in the lip tissue.
Actual pigment placement depends on the complete working system: machine stroke, cartridge construction, hand speed, pressure, angle, stretch, pass strategy and the response of the individual lip tissue.
This guide explains how trained PMU artists can assess those variables without treating one protrusion, voltage or stroke setting as a universal answer.
Professional scope: This article is educational content for trained PMU professionals. It does not replace supervised training, manufacturer instructions, client screening, medical advice or local licensing and hygiene requirements.
Quick Answer
| Question | Short Answer |
|---|---|
| Is there one correct lip blush needle depth? | No. One millimetre value cannot apply to every machine, cartridge, technique or client. |
| Is needle protrusion the same as implantation depth? | No. Protrusion is a mechanical setting; implantation depth is the result of actual tissue contact. |
| Does a longer stroke automatically mean deeper pigment placement? | No. Stroke describes drive travel, not the depth reached in the tissue. |
| Does higher voltage automatically mean deeper work? | No. Voltage changes machine operation but is not a depth control. |
| What should artists assess? | The complete machine-cartridge-technique system and the cumulative tissue response. |
A machine setting can help an artist document and repeat one verified setup. It should not be presented as a universal safe depth for every lip blush procedure.
Three Terms PMU Artists Must Separate
Artists often use “needle depth” to describe three different parts of the working system.
| Term | What It Means | What It Cannot Prove |
|---|---|---|
| Needle protrusion | The visible needle extension beyond the cartridge tip | The exact depth reached during tissue contact |
| Implantation depth | Where pigment is actually deposited in the tissue | A fixed value controlled by one machine dial |
| Machine stroke | The travel of the machine’s internal drive during each cycle | How deeply the artist must work |
These terms interact, but they are not interchangeable.
Two artists can use the same protrusion setting and still create different tissue interactions because their pressure, hand speed, angle, stretch and movement patterns differ.
Two machines displaying the same voltage can also behave differently because their motors, drive systems, stroke lengths and cartridge resistance are not identical.
A machine setting is therefore useful for documenting one verified setup—not for creating a universal lip blush depth rule.

Needle Protrusion Is a Mechanical Reference
Needle protrusion describes how far the needle visibly extends beyond the cartridge tip. Depending on the machine, it may be adjusted by rotating the grip or another mechanical control.
However, the full exposed length does not necessarily enter the lip tissue during every movement. Tissue contact is also affected by the artist’s pressure, angle, movement and stretching technique.
Implantation Depth Is a Tissue Outcome
Implantation depth describes where pigment is actually deposited during the procedure.
It is an outcome of the complete interaction between the machine, cartridge, artist and tissue. It cannot be confirmed by reading one number from a machine or grip.
Stroke Changes Machine Behaviour
Stroke describes the travel of the machine’s internal drive mechanism during each cycle.
A longer stroke does not automatically mean the artist is placing pigment deeper. A shorter stroke does not automatically make a procedure less traumatic. Either system can be misused when movement, cartridge choice and tissue response are not properly controlled.
For more help comparing fixed and adjustable machines, read our PMU machine guide for beginners.
Why One Millimetre Setting Cannot Fit Every Client
The lips are not one uniform working surface.
The visible vermilion, Cupid’s bow, surrounding skin, inner mucosa and corners of the mouth have different structures and functions. The working surface can also change because of dryness, irritation, previous permanent makeup, scarring and other individual conditions.
The Cleveland Clinic’s lip anatomy overview explains the different anatomical areas of the lips and the structures that contribute to their movement, sensation and appearance.
Lip volume alone is not a reliable guide to needle depth. A fuller lip does not automatically tolerate deeper work, and a thinner lip does not automatically require a shallower universal setting.
Before beginning a procedure, trained PMU artists should assess:
- Surface integrity;
- Dryness, cracking, peeling or splitting;
- Swelling or irritation;
- Visible lesions or other reasons to defer treatment;
- Scar tissue;
- Previous lip PMU;
- Border visibility and asymmetry;
- Areas with noticeably different texture;
- The response of the tissue to gentle stretching.
If the lips show a condition outside the artist’s training or permitted professional scope, the appointment should be postponed or referred for appropriate medical assessment. Changing a machine setting is not a substitute for client screening.
What Affects Lip Blush Pigment Placement?
Lip blush pigment placement depends on several connected variables.
| Variable | Why It Matters |
|---|---|
| Lip tissue | Dryness, irritation, scarring, previous PMU and surface integrity change the working response. |
| Cartridge | Needle grouping, taper, membrane resistance and stability change tissue contact. |
| Machine | Motor response, stroke, power delivery and drive geometry affect needle movement. |
| Artist movement | Hand speed, pressure, angle, stretch and movement pattern affect tissue interaction. |
| Pass strategy | Repeated overlap can increase cumulative tissue stress even when settings remain unchanged. |
| Pigment handling | Flow and loading affect visible saturation, but do not establish a safe depth. |

No single variable should be evaluated in isolation.
For example, pigment wiping away does not automatically mean the artist needs to increase protrusion or pressure. The issue could also involve cartridge loading, stretching, hand speed, movement pattern, surface moisture or machine-cartridge compatibility.
Whenever the machine, cartridge or technique changes, the complete setup should be reassessed.
How Cartridge Configuration Changes the Working System
There is no single cartridge configuration that is automatically best for every lip blush procedure.
| Cartridge Configuration | Practical Consideration |
|---|---|
| Single-point configuration | Concentrates contact in a small area and requires controlled movement. |
| Small round grouping | Changes coverage and pigment delivery compared with a single point. |
| Larger round or flat grouping | Covers more surface while changing tissue contact and resistance. |
| Dedicated multi-point system | Must be learned as a separate system because its coverage and operating behaviour differ. |

The appropriate cartridge depends on the artist’s training, the intended technique, machine compatibility and the tissue being assessed.
Changing from a single-point cartridge to a larger grouping is not simply a matter of keeping the same protrusion and machine setting. Coverage, resistance, movement speed, overlap and tissue response may all change.
New cartridge configurations should first be evaluated through manufacturer guidance, suitable practice materials and supervised training. They should not be introduced for the first time during a client procedure.
Why Lip Blush Machine Settings Must Be System-Specific
Voltage and speed numbers only have meaning within the machine system that produces them.
Motor design, battery output, drive mechanism, stroke, cartridge resistance and controller calibration can all affect machine behaviour. As a result, the same displayed voltage may feel and perform differently across two PMU machines.
Some devices use voltage-based controls. Other systems use manufacturer-defined speed levels that cannot be converted directly into voltage or hertz.

A more reliable professional approach is to:
- Follow the manufacturer’s instructions and training protocol;
- Confirm machine and cartridge compatibility;
- Establish a documented baseline on suitable practice materials;
- Change only one variable at a time when evaluating a setup;
- Record the machine, cartridge and relevant settings;
- Avoid copying another artist’s setting without knowing their complete system.
Artists comparing one device across several treatment areas can also read Can One PMU Machine Be Used for Brows, Eyeliner and Lips?
YDPMU Manufacturer Note
The YDPMU DEMO Pro and LipMaster illustrate why settings cannot be transferred directly between different PMU systems.
The YDPMU DEMO Pro uses an adjustable 2.5–3.5mm stroke, voltage-based control and compatible universal-style PMU cartridges. The YDPMU LipMaster CTM107 uses a fixed 2.0mm short stroke, 18 manufacturer-defined speed levels and a proprietary LipMaster cartridge family available in 1P, 2P, 3P, 4P, 6P and 8P configurations.
A DEMO Pro voltage value cannot be converted directly into a LipMaster speed level. The machines use different control systems, stroke configurations, cartridge structures and working footprints.
For this reason, YDPMU does not recommend transferring one universal voltage, speed level, stroke or protrusion value between the two systems. Artists should learn and document each machine-and-cartridge combination as an independent working setup.
What Should Artists Assess During the Procedure?
Tissue response should be evaluated continuously rather than treated as a single “depth test.”
No individual sign proves that a particular protrusion setting is correct. The artist should observe the overall working pattern:
- Is the working surface still clearly visible?
- Is swelling increasing more quickly than expected?
- Is there excessive or unexpected bleeding?
- Is the tissue becoming abraded, split or visibly overworked?
- Is the artist repeatedly passing over the same area to chase immediate saturation?
- Is the cartridge behaving consistently?
- Has the machine sound or movement changed?
- Is pigment spreading outside the intended working area?
- Is the client reporting an unexpected symptom?
This assessment is not intended to diagnose a medical condition. Its purpose is to determine whether the procedure can continue within the artist’s training, protocol and permitted scope.
When to Stop and Reassess the Tissue
An artist should stop and reassess when tissue behaviour no longer matches the expected working response or when visibility and control are being lost.
Reasons to stop may include:
- Excessive or unexpected bleeding;
- Rapidly increasing swelling;
- Splitting, tearing or visibly abraded tissue;
- Loss of a clear working surface;
- Repeated passes without controlled improvement;
- Pigment spreading beyond the planned border;
- Sudden changes in the client’s comfort or condition;
- Unstable machine or cartridge behaviour.
The correct response is not automatically to reduce protrusion by a fixed amount, increase voltage or make another isolated numerical change.
First determine whether the problem involves the tissue, cartridge, machine, movement, stretch, pass count or another part of the working system.
If control cannot be re-established within the artist’s professional protocol, the procedure should be ended. Suspected infection, allergic reaction or another medical concern should be referred to an appropriate healthcare professional.
The U.S. Food and Drug Administration identifies infection, allergic reactions, granulomas and keloid formation among the potential complications associated with tattoos and permanent makeup. Hygiene, sterile single-use supplies and appropriate product handling remain essential regardless of the selected machine settings. See the FDA Tattoos and Permanent Makeup Fact Sheet.
How Pigment Properties Affect Handling—but Not Safe Depth
Pigment formulation, flow and concentration can affect:
- How pigment loads into the cartridge;
- How visible the color appears during the procedure;
- How easily compatible shades can be mixed;
- How frequently the artist reloads;
- How the artist evaluates saturation during a pass.
These properties influence handling. They do not determine the correct implantation depth.
A more fluid pigment is not an instruction to work deeper. A more concentrated pigment does not create a universal reason to work shallower.
Professional color selection should consider the client’s natural lip tone, undertone, previous PMU, desired healed result and the artist’s trained color assessment.
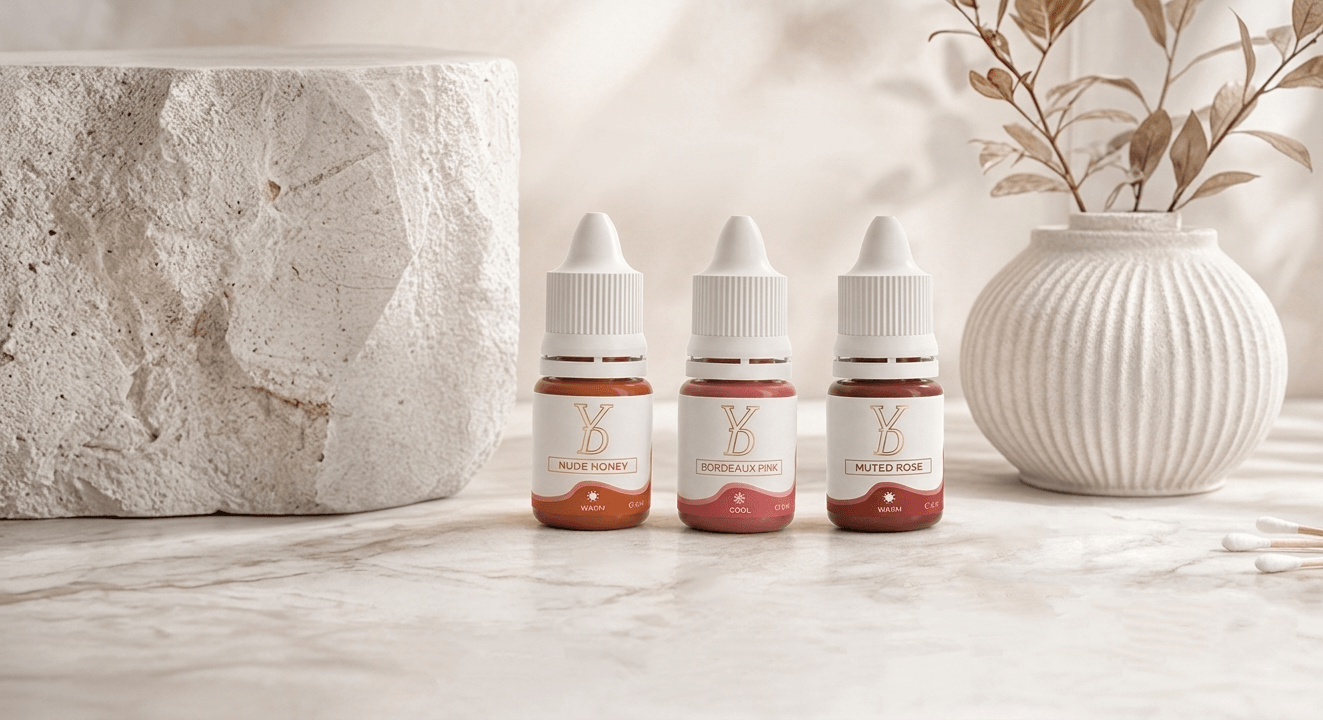
The YDPMU NEO Lip Blush Pigment Set provides a range of nude, pink, coral and stronger lip shades. According to current product information, the pigments are gamma-sterilized and listed as EU REACH compliant.
These characteristics support product selection and handling. They do not replace tissue assessment or establish a safe working depth.
Which YDPMU System Fits This Workflow?
| Product | Relevant Specification | Best Suited For | Important Limitation |
|---|---|---|---|
| YDPMU DEMO Pro | Adjustable 2.5–3.5mm stroke and universal-style PMU cartridge compatibility | Trained artists comparing one adjustable machine across brows, eyeliner and lips | Stroke and voltage do not reveal implantation depth |
| YDPMU LipMaster CTM107 | Fixed 2.0mm short stroke, 18 manufacturer-defined speed levels and proprietary 1P, 2P, 3P, 4P, 6P and 8P LipMaster cartridges | Trained lip specialists who want a dedicated corded platform for precision contouring, controlled filling and broader lip coverage | Uses LipMaster-specific cartridges; universal-style PMU cartridges are not compatible, and settings from a standard PMU pen should not be transferred directly |
| YDPMU NEO Lip Blush Pigment Set | Gamma-sterilized lip pigment range listed as EU REACH compliant | Professional lip color selection and mixing workflows | Pigment properties do not determine safe implantation depth |
Choose a system according to training, cartridge compatibility and intended workflow—not because a product claims to provide one universal depth setting.
No machine or pigment can independently assess tissue, compensate for poor technique or guarantee a healed result.
A More Reliable Professional Workflow
Instead of searching for one universal millimetre number, artists can build a repeatable assessment and documentation process.

Before the Appointment
- Complete client screening and informed consent according to local requirements;
- Review previous lip PMU and relevant client history within professional scope;
- Inspect the lips for irritation, lesions, cracking, swelling and other reasons to defer;
- Confirm the planned technique and realistic healed-result expectations;
- Check pigment labels, lot information, expiry details and manufacturer instructions.
Before Beginning the Procedure
- Confirm machine and cartridge compatibility;
- Use a new sterile single-use cartridge;
- Prepare barriers and supplies according to infection-control requirements;
- Use a machine-cartridge baseline established through training and practice;
- Document the pre-procedure condition where permitted.
During the Procedure
- Maintain controlled stretch, visibility and movement;
- Assess cumulative tissue response instead of chasing immediate saturation;
- Avoid changing several variables simultaneously;
- Replace the cartridge if its performance becomes questionable;
- Stop when the working surface can no longer be assessed reliably.
After the Procedure
- Document the machine, cartridge, pigment and relevant settings;
- Record the tissue response and any reason the procedure was modified or ended;
- Provide written aftercare based on training and product instructions;
- Evaluate the healed result before deciding what a later session requires.
This documentation is more useful than recording a protrusion number alone because it preserves the complete working context.
Professional Aftercare and Follow-Up
Aftercare should follow the artist’s training, applicable regulations and the instructions associated with the products used.
General client guidance may include:
- Keep hands and unapproved products away from the treated area;
- Do not pick, peel or rub healing tissue;
- Follow the provided cleansing and moisture instructions;
- Avoid sharing lip products during healing;
- Contact the artist if healing differs from the written guidance;
- Seek appropriate medical care for possible infection, a significant allergic reaction or another concerning symptom.
One fixed touch-up date should not be promised as appropriate for every client.
Follow-up timing should consider the client’s healing progress, the artist’s protocol and applicable professional guidance. The healed result—not the appearance immediately after the procedure—should guide later color and technique decisions.
Conclusion
The most accurate answer to “What is the correct lip blush needle depth?” is not one universal number.
Needle protrusion is a machine reference. Implantation depth is the result of the complete interaction between the machine, cartridge, artist movement and individual lip tissue.
Stroke and voltage affect how a machine operates, but neither setting directly measures pigment depth in the tissue.
Trained PMU artists should focus on system-specific education, careful client screening, continuous tissue assessment, controlled technique, accurate documentation and the willingness to stop when the tissue can no longer be worked predictably.
A PMU machine or pigment can support a professional workflow. It cannot replace professional judgment.
Frequently Asked Questions
What Is the Correct Needle Depth for Lip Blushing?
There is no universal millimetre setting that guarantees correct lip blush pigment placement. The working approach depends on the machine, cartridge, technique, artist movement and the response of the individual lip tissue.
Is Needle Protrusion the Same as Implantation Depth?
No. Needle protrusion is the visible mechanical extension beyond the cartridge tip. Implantation depth describes where pigment is actually deposited during tissue contact. The two are related, but they are not identical.
Does a Longer Protrusion Mean the Artist Is Working Deeper?
Not necessarily. Tissue interaction also depends on pressure, hand speed, angle, stretching, cartridge behaviour and movement pattern. A protrusion number alone cannot show how deeply the needle reaches during every contact.
Does Higher Voltage Make a PMU Machine Work Deeper?
No. Voltage affects the operation of a particular machine, but it is not a depth control. Machines with different motors, strokes, drive systems and cartridges can behave differently at the same displayed voltage.
What Stroke Is Best for Lip Blush?
There is no single stroke that is automatically best for every artist or technique. Fixed and adjustable strokes create different working characteristics, but cartridge choice, controlled movement, training and tissue assessment remain essential.
Which Cartridge Is Best for Lip Blushing?
The appropriate cartridge depends on the intended technique, machine compatibility, tissue condition and the artist’s training. Single-point, round, flat and dedicated multi-point systems change coverage and tissue contact in different ways.
When Should an Artist Stop and Reassess the Tissue?
The artist should stop when the tissue response, equipment behaviour, visibility or client condition no longer matches the expected working protocol. Excessive bleeding, rapidly increasing swelling, tissue splitting, loss of surface visibility and repeated passes without controlled improvement are examples of reasons to reassess.
Sources and Review
This guide separates manufacturer-controlled machine settings from actual tissue outcomes. Product comparisons are based on current YDPMU specifications. Anatomy and permanent-makeup risk information is supported by:
- Cleveland Clinic: Lip Anatomy
- U.S. Food and Drug Administration: Tattoos and Permanent Makeup Fact Sheet
- Current YDPMU DEMO Pro, LipMaster CTM107 and NEO Lip Blush Pigment specifications
Last reviewed: August 25, 2026
Written by: YDPMU Technical Content Team